Automated website with Helix, Next.js and Cloudflare Pages
Automate your website with Helix, Next.js and Cloudflare Pages.
In this tutorial we will demonstrate a simple yet super powerful use case for Helix, powering Next.js website hosted on Cloudflare Pages.
Outcome
- Free and fast hosting for your website
- Automated website updates, content writing, design changes, etc.
- You can automate things like SEO, scraping GitHub repositories for writing changelogs, etc.
- Accelerated, fast, human-in-the-loop shipping for both technical and non-technical users.
Prerequisites
- A Helix account if you are using SaaS or you can also use your on-prem instance or MacOS app if you are self-hosting.
- A Next.js website hosted on Cloudflare Pages
- Cloudflare account
Step 1. Next.js website with Cloudflare Pages
Cloudflare offers a great option to host your websites for free, especially if they can be exported as just static files (for example landing, marketing pages, blogs, etc. - this website is hosted on Cloudflare too!).
Ensure you use next build --webpack which in my case is npm run build. This will ensure we can export everything as just HTML files. In this mode
Once configured, you should be able to push to GitHub, open a PR and Cloudflare will create a preview URL for you to review, this will come handy when you want to review Helix produced changes.
Step 2. Connect Helix to your GitHub repository
Now, let's connect Helix to your GitHub repo. This will allow Helix to securely clone your repository in the sandboxed environment and run tasks on it. Helix will never push your changes to main or master branches and will only create pull requests for you to review and merge.
Go to your default Helix organization and click on "Repositories" in the left sidebar. Click "Connect & Browse" in the top right corner.
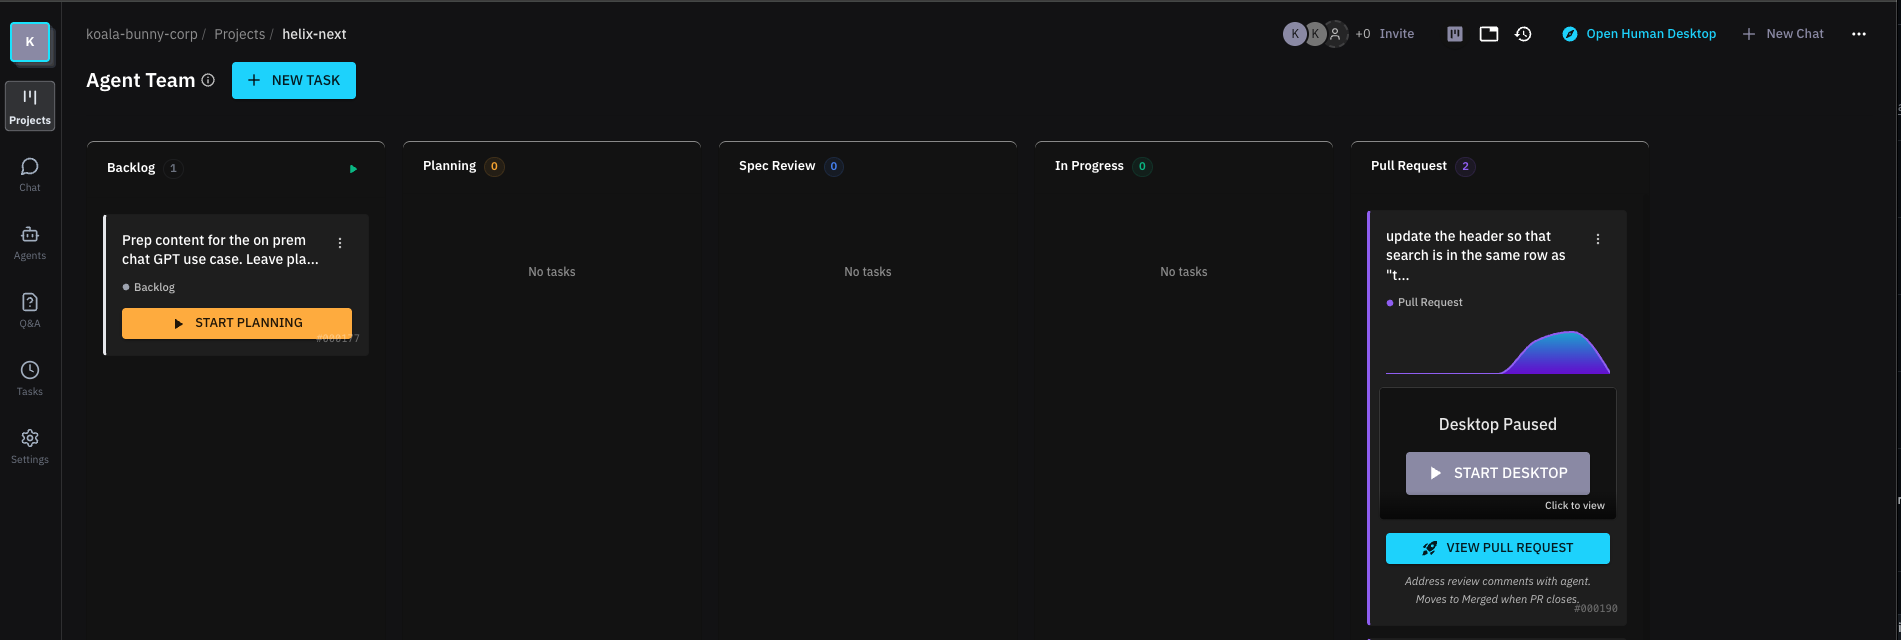
Step 3. Create a new Helix project
Helix projects are way for you to manage your work. They are a collection of spec tasks that you can assign to agents to work on. They move from backlog to design, implementation, review and done.
- Go to projects
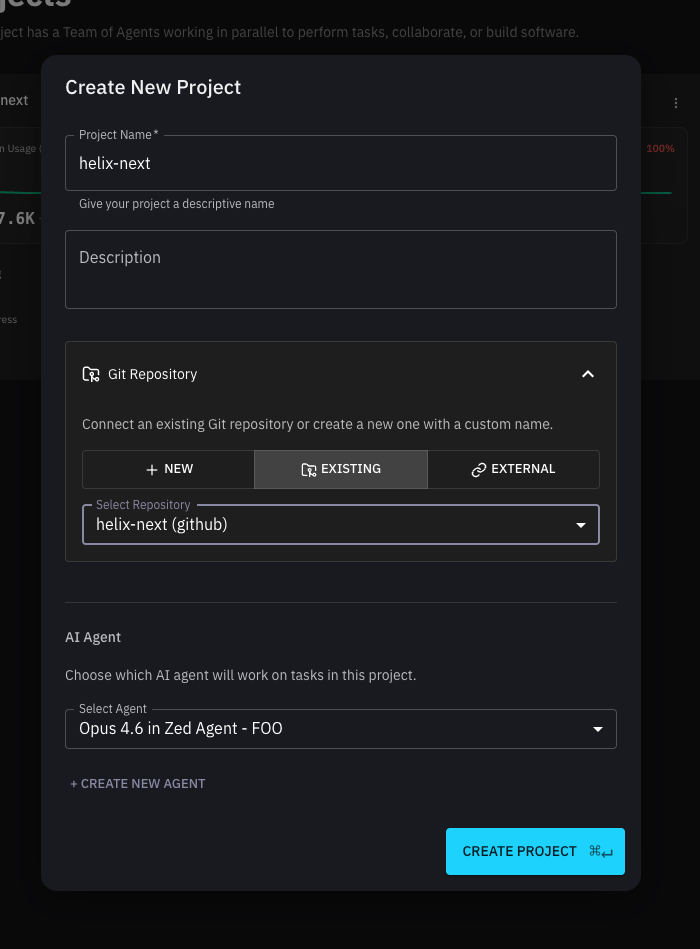
- Click "New Project"
- Select your GitHub repository
- Configure your agent settings (model). Here we recommend using SOTA models like Claude 4.6, etc.
Step 4. Create a new spec task
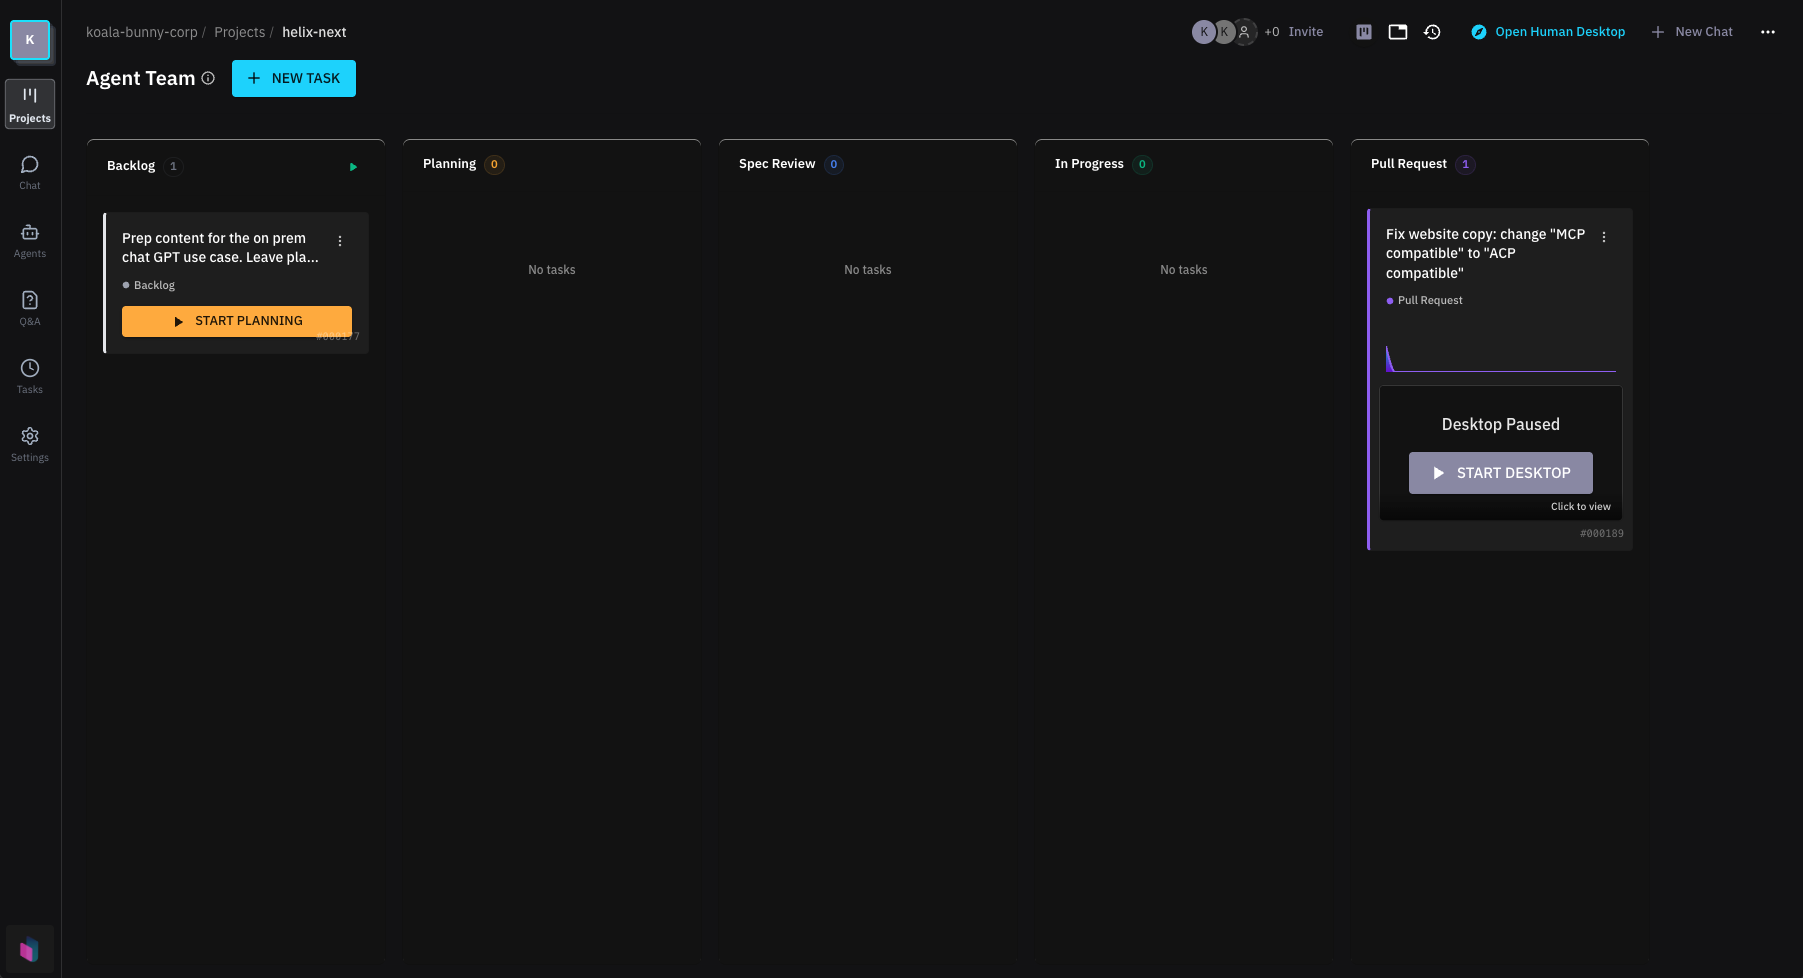
Create a new task by clicking "New Task" and tell it what you want to change/fix. Mine will be "update the header so that search is in the same row as try cloud".
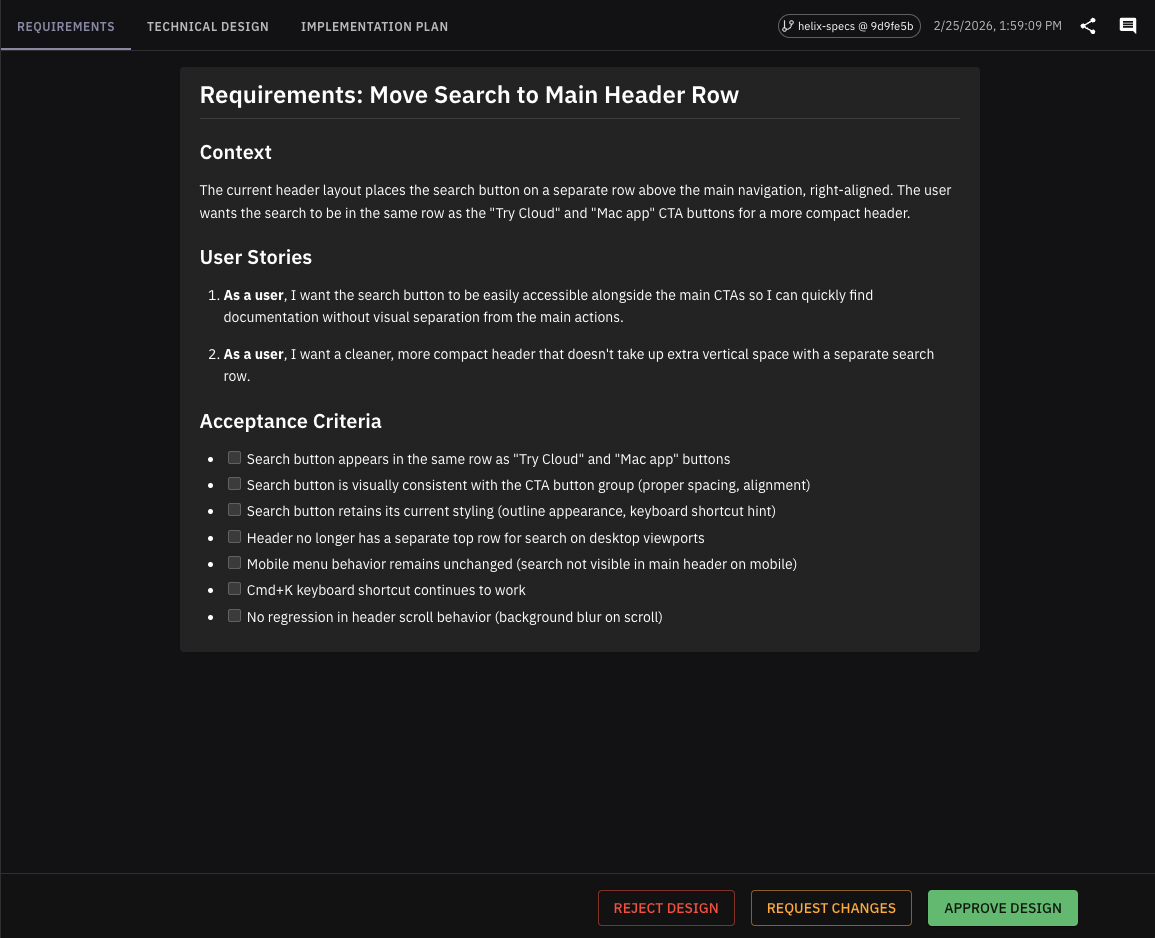
Once the task is created it will go into planning mode. While this is not needed for small things it's still good to use it as it might save you some time fixing things later. If the plan looks good, let's click "Approve" and the plan will be executed.
Step 5. Executing the task
Ok, once it's running, we can also see and control the browser inside the task:
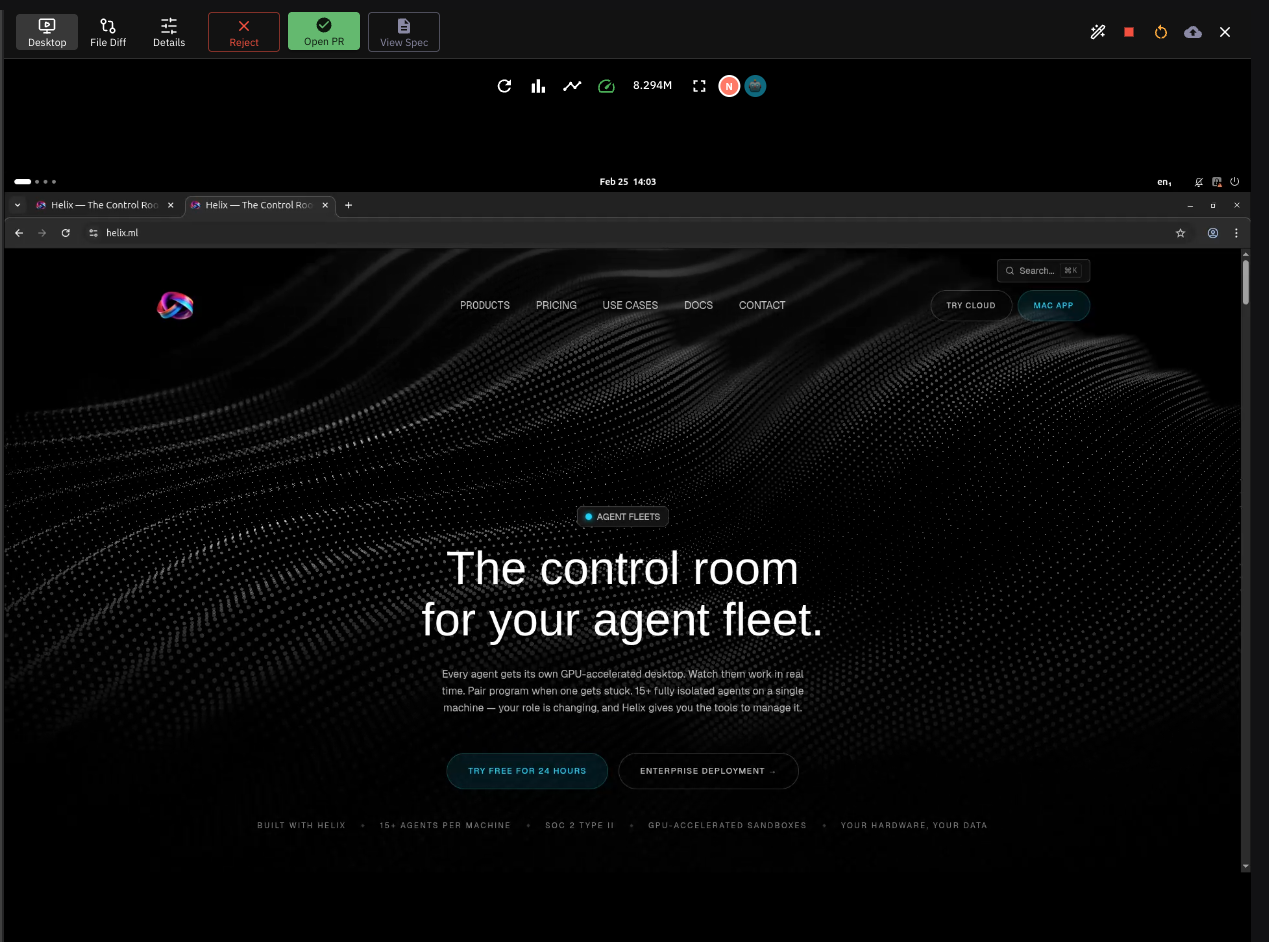
Now if we open up our localhost:3000 inside the sandbox:
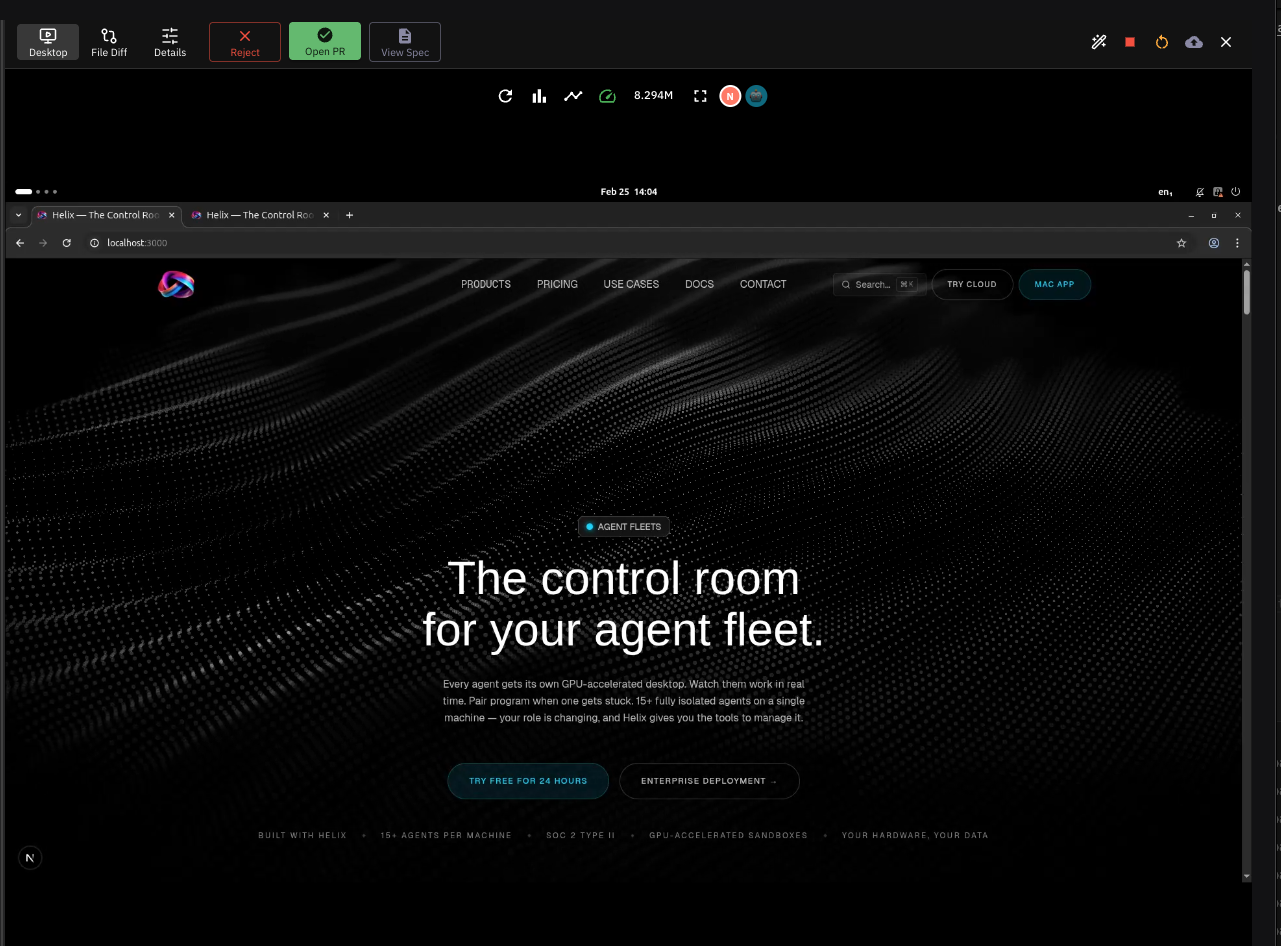
Looks great, search field is in the same row. Let's click "Open PR".
Step 6. Final review
Let's go to GitHub, open the PR that we have just created
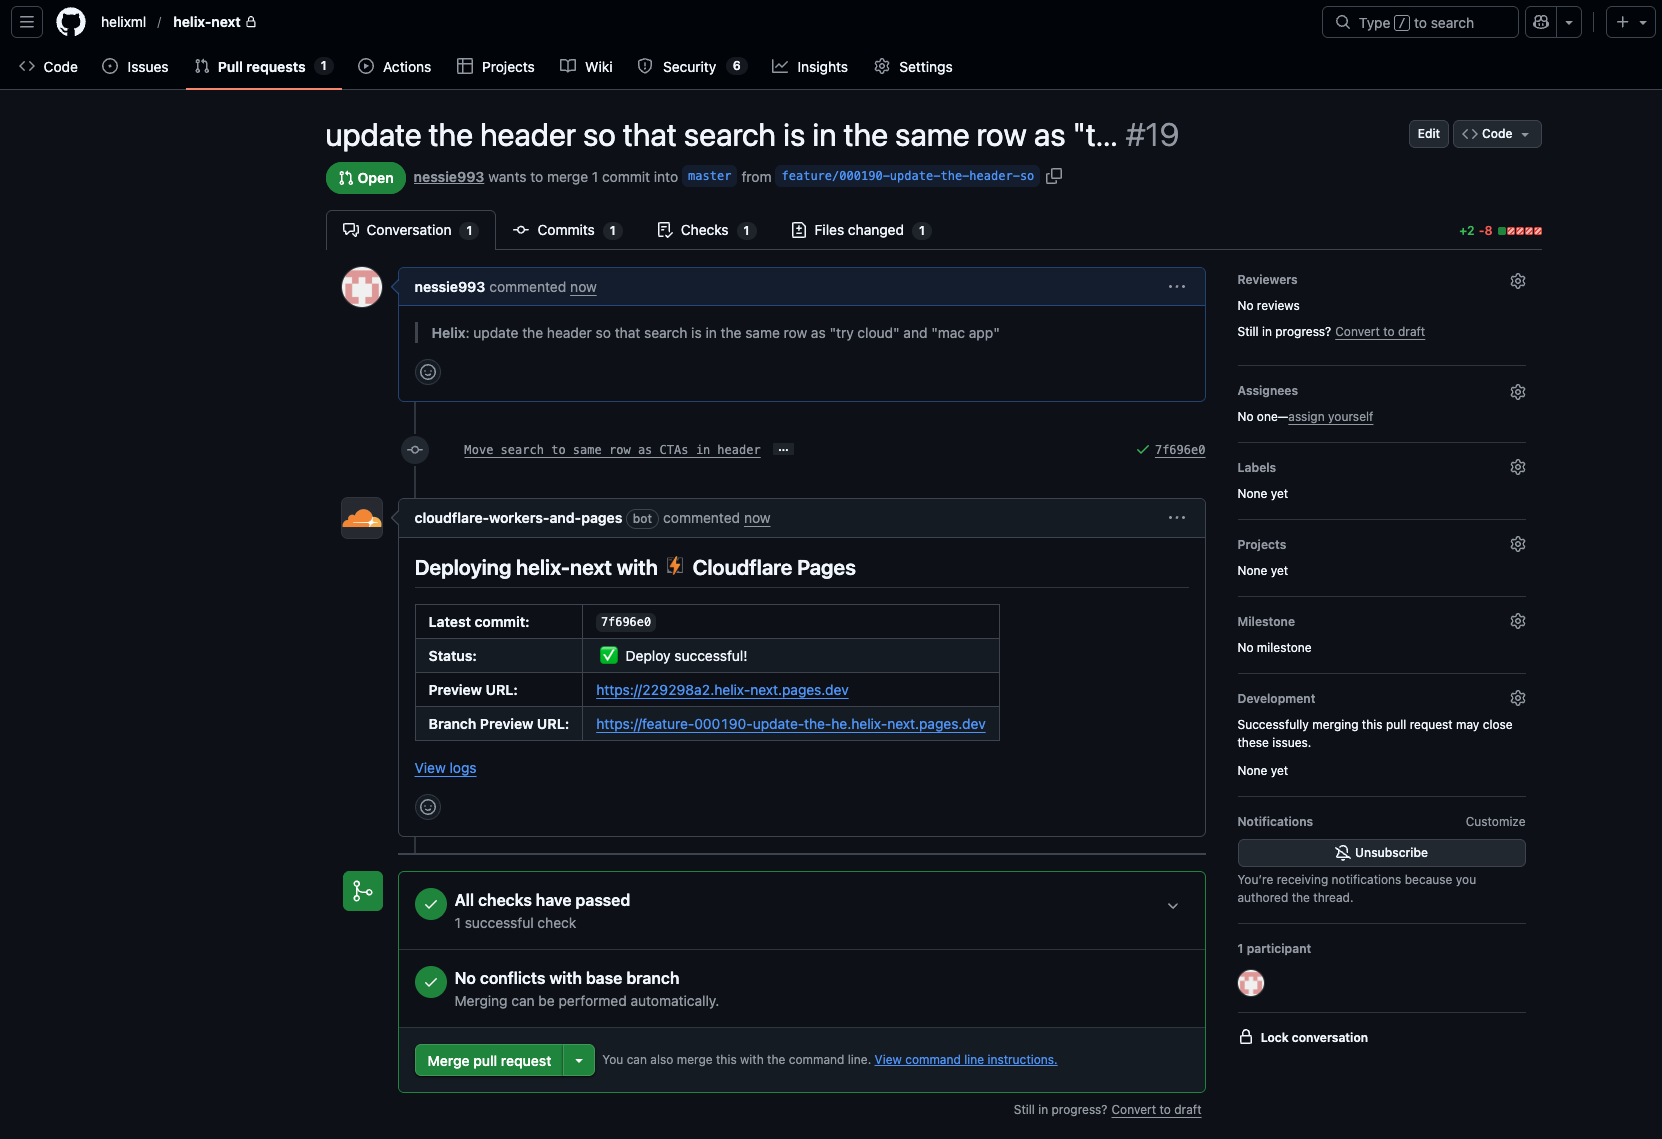
You can review changes in a preview URL. If you are happy, just click merge as the build is successful. Task will automatically move to done state:
Happy shipping!